
Learning management systems can enforce different rules for profile photos, assignment evidence, discussion images, and course content. Read the upload field before processing: record its accepted formats, byte limit, and any required dimensions.
Match the image to its purpose
A photo of a physical project can usually tolerate moderate JPEG or WebP compression. A screenshot containing code, formulas, or small interface text needs more care. PNG may retain sharp edges but can remain large; resizing to the actual viewing width can be safer than pushing lossy quality too low.
Keep “do not enlarge” enabled. Increasing a small image’s dimensions does not restore missing detail and can create a larger file. Preserve aspect ratio so diagrams and photographed pages are not stretched.
Use measured targets when the LMS gives one
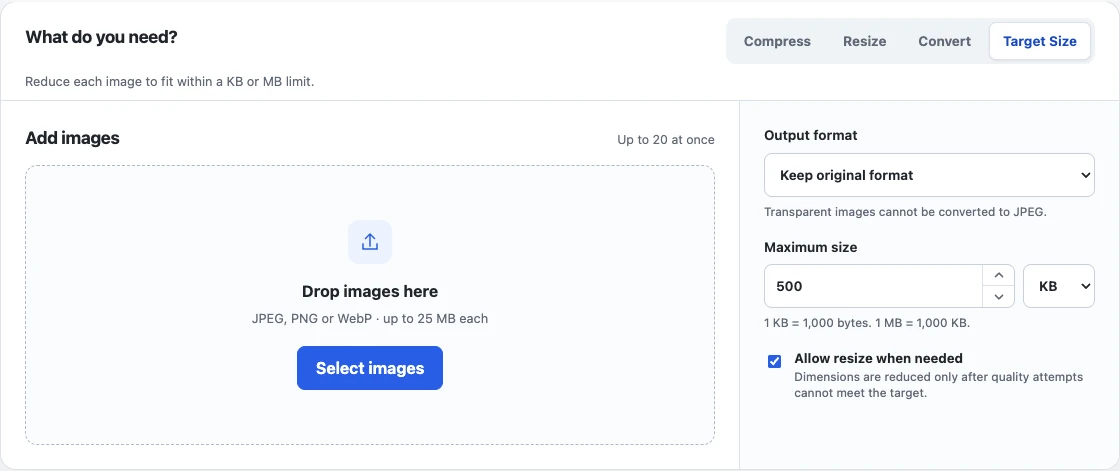
If the field states a maximum file size, choose Target Size in the image compressor and convert that limit to KB for Maximum size. One KB is 1,000 bytes; divide a byte limit by 1,000 and round down to a whole KB so the chosen target does not exceed it. The tool checks real encoded bytes and reports unreachable when the current quality and dimension limits cannot meet the request. Do not treat a quality slider as a byte guarantee.
The 500 KB preset below shows where to enter the limit and allow resizing if needed. Use your course’s stated limit in Maximum size, then compare the completed output with it; 500 KB is only the example shown here.
Review before submission
Open the result and inspect labels, citations, equations, and evidence that an instructor must read. Keep the original separately. Browser re-encoding can remove or change metadata and color information.
For text-heavy captures, see reduce screenshot file size. To understand why two similar assignments can finish at different sizes, read how image compression works.